
I LOVE Fall Y'all!! These ideas are awesome--Enjoy!




 The Christmas Tree is decorated with lots of silver, red and light green.




 The one thing we really liked about our house when we picked the floor plan was the entry way. The foyer is nice, long and welcoming. We chose to do hardwood floors instead of tile so the entire space would be seamless and we are very happy with our decision. We used to have a large rug in the center of the space but it was in Jackson & Macklin's way for riding their train so we've moved it to our laundry room so they have plenty of open space!
 There's a tiny wall right behind the front door where I have a small, distressed white table I found at a local antique mall.

 This is the space at the bottom of the stairs. This cabinet was Ray's when we got married and I gave it a little face-lift with some suede paint. The lamp I purchased at an estate sale for a dollar and I spray painted it red for a punch of color.

 This is the hallway that brings guests into the keeping room and kitchen. The pictures on the wall are one's Ray and I took on our trips to Greece, St. Lucia, Jamaica, Seattle and all sorts of fun places we visited prior to babies! The tiered cabinet was a clearance purchase at Pier One and we have lots of family and travel pictures displayed on it. The wall across from it has two Magnolia Lane wooden frames I LOVE--sorry I don't have a photograph to share (you can see a side view of where they hang on the wall in the very first picture)! One of the frames is hand-painted with 1 Corinthians 13 (we had this verse read at our wedding) and the other is the frame "Life is Not Measured"--they are really special and I hope to get another to add to my collection for Christmas!
Thanks for visiting and I hope you have a blessed weekend!
This is the hallway that brings guests into the keeping room and kitchen. The pictures on the wall are one's Ray and I took on our trips to Greece, St. Lucia, Jamaica, Seattle and all sorts of fun places we visited prior to babies! The tiered cabinet was a clearance purchase at Pier One and we have lots of family and travel pictures displayed on it. The wall across from it has two Magnolia Lane wooden frames I LOVE--sorry I don't have a photograph to share (you can see a side view of where they hang on the wall in the very first picture)! One of the frames is hand-painted with 1 Corinthians 13 (we had this verse read at our wedding) and the other is the frame "Life is Not Measured"--they are really special and I hope to get another to add to my collection for Christmas!
Thanks for visiting and I hope you have a blessed weekend!


 This is the small wall behind our front door as you enter our foyer. I placed a dainty table which I recently purchased at Chelsea Antique Mall. I wanted to use something in this space that wasn't overpowering but allowed for some small accent pieces....
 This is the other small wall in our foyer. We used this cabinet in our previous house but I gave it a mini face-lift and added the dark brown accents. I wanted to have a mirror and lamp in this area for use in the evening and decided to keep the accents simple with my estate sale lamp which you may remember from here and some great frames I found at a few yard sales....
 This is our dining room which is located just to the left of the foyer. This was one of the first rooms we painted when we moved in a few years ago. It's a fantastic shade of orange with turquoise and white accents and large, farmhouse style furniture for comfortable dining....
 Our study is to the right of the foyer and has transom doors for privacy. You may recall this post which is the wall just to the left of these chairs. Currently, we are reevaluating the use of this space but this room is really comfortable and a great place to escape for some quiet time.....
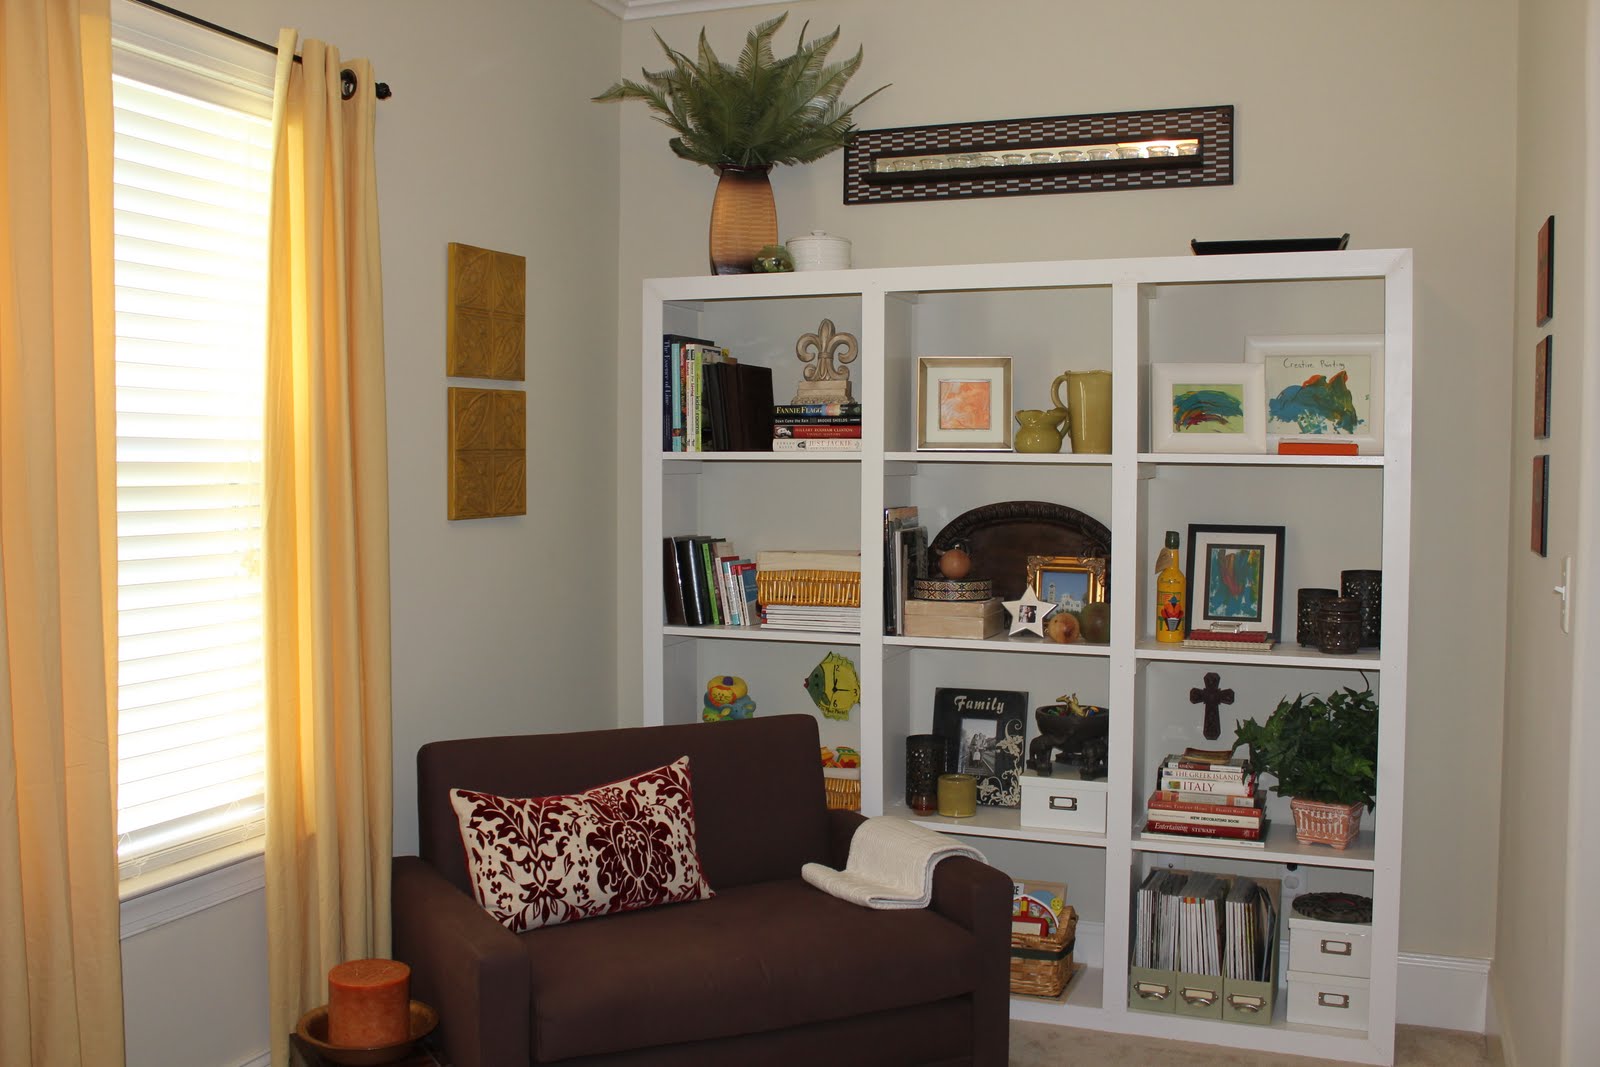
 This is the entry hallway. I used this bookshelf from Pier One as a place to display lots of family photographs which can be easily removed before an open house....
 This is the TV wall in our keeping room. The cabinet is from Z Gallery and was an excellent purchase--I wish I had another one. It neatly houses my collection of Martha Stewart magazines, design books, pottery and family photographs....
 This is another view of our keeping room and it's where we spend the majority of our time. The curtains were my very first sewing project which you can read about here. I used the space underneath the couch table to organize all the boys books and toys in large baskets which provide easy access and clean-up....
 This pie-safe serves as a room divider for the keeping room and eat-in kitchen area. We got this piece at Frontera and I must admit it is one of my favorite pieces of furniture. I have a set of pottery from my grandmother inside, a fore more design books and some serving pieces for entertaining....
 This is a small wall in the back of our eat-in kitchen where I placed our wine table (minus the wine) and some cookbooks I use often....
 And this is the space above largest wall of kitchen cabinets. It's hard to tell in this picture but the cabinets are designer cabinets with a glaze topcoat. I was the first to ever pick these cabinets at the design studio and everyone was anxious to see how they would look once installed. They are really neat and I am very happy with my choice.
Hope you enjoyed the mini-tour. More decorating and space redos to come soon!
Pin It
And this is the space above largest wall of kitchen cabinets. It's hard to tell in this picture but the cabinets are designer cabinets with a glaze topcoat. I was the first to ever pick these cabinets at the design studio and everyone was anxious to see how they would look once installed. They are really neat and I am very happy with my choice.
Hope you enjoyed the mini-tour. More decorating and space redos to come soon!
Pin It
 This is my new desk. A friend told me about this wonderful place called The Blue Building in Alabaster which had lots of hotel furniture it had recently acquired from a closing sale. I hurried over and was able to get it for $50. Of course, I had to paint it orange (go figure)....
 The chair at my desk and the one in the corner is a set I bought at the Chelsea Antique Mall yard sale for $25. I painted them both chocolate and recovered the cushions with cream suede fabric......
 Th armoire is one we had in the guest bedroom at our first house. It's a computer armorie so it's practical and has lots of interior room for storage. I decided to repaint it chocolate....
 And here's the completed space--completely stocked brushes, canvases, fabric, ribbon, and lots of tools to foster some creativity--now, all I need to do is put it to good use!


